Creating Media Scripts
Can I create a linear presentation in OnCue like PowerPoint?
What would I use Media Scripts for?
Can I set a Media Script to advance by itself?
About Media Scripts
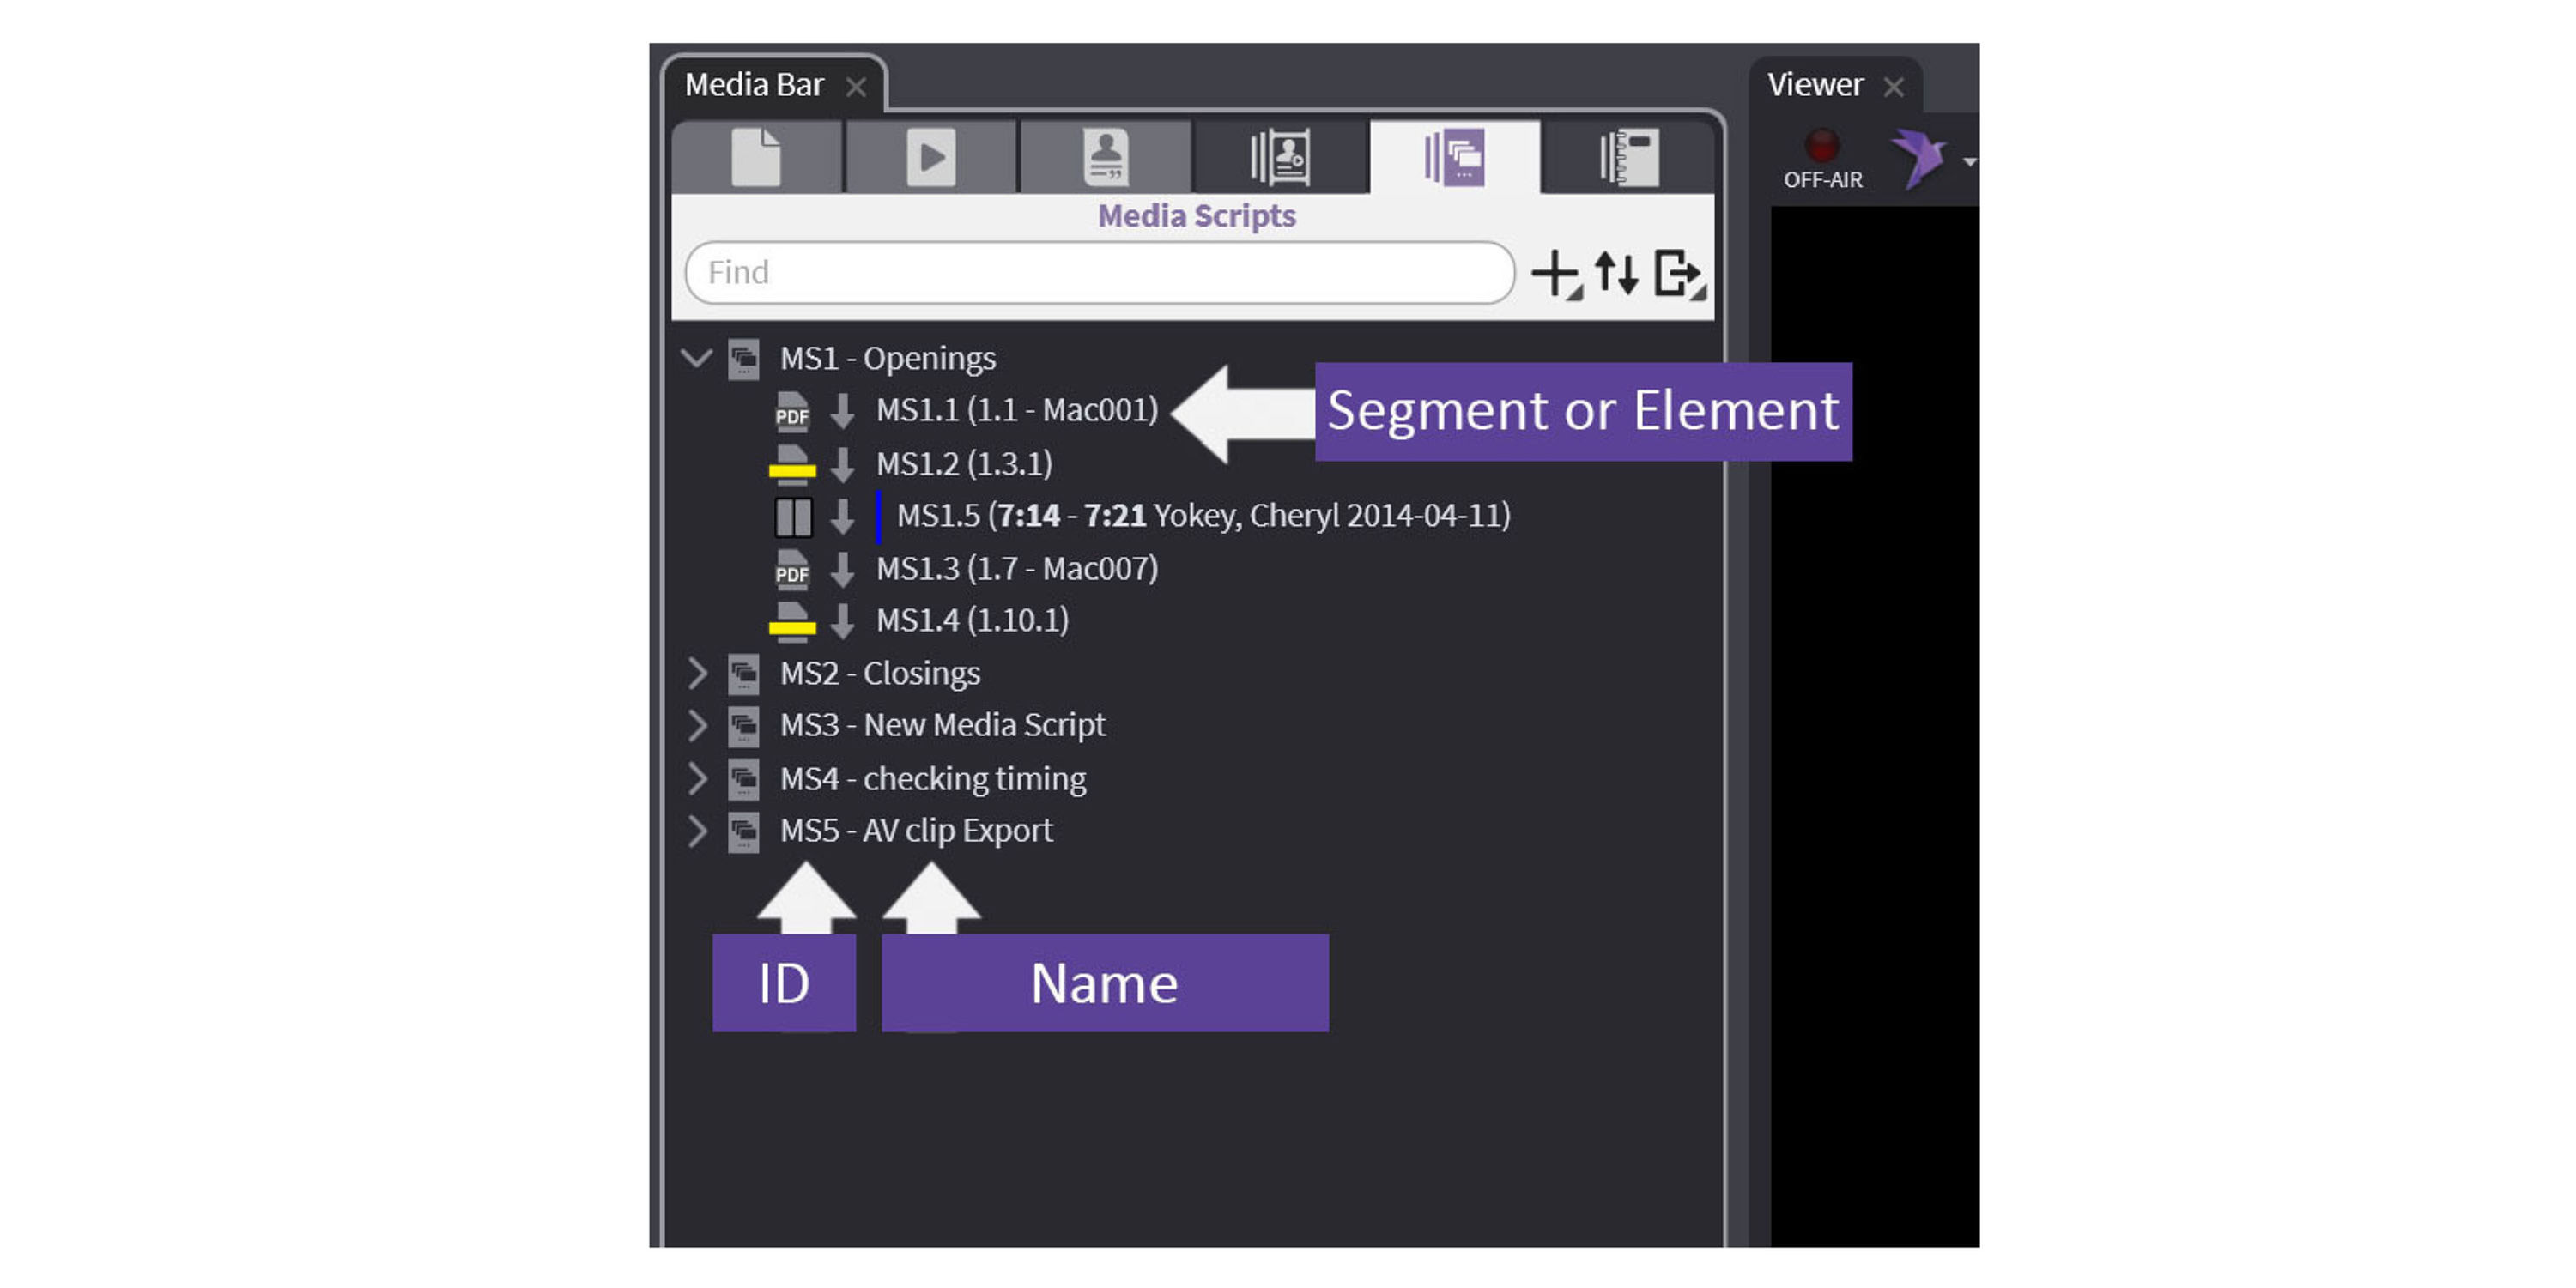
Media Scripts are a way to create a linear slideshow (like PowerPoint) for the specific purpose of bringing up items in sequence, such as an Opening Statement, expert witness exam, oral argument, or anything else you want to present in a certain order. You can add any media that is registered in OnCue to a Media Script (specific pages, treated pages, video and audio clips, even synced deposition designations.)
Below is a diagram of the elements of a Media Script.
How to Create Media Scripts
There are a few different ways to create your custom Media Script.
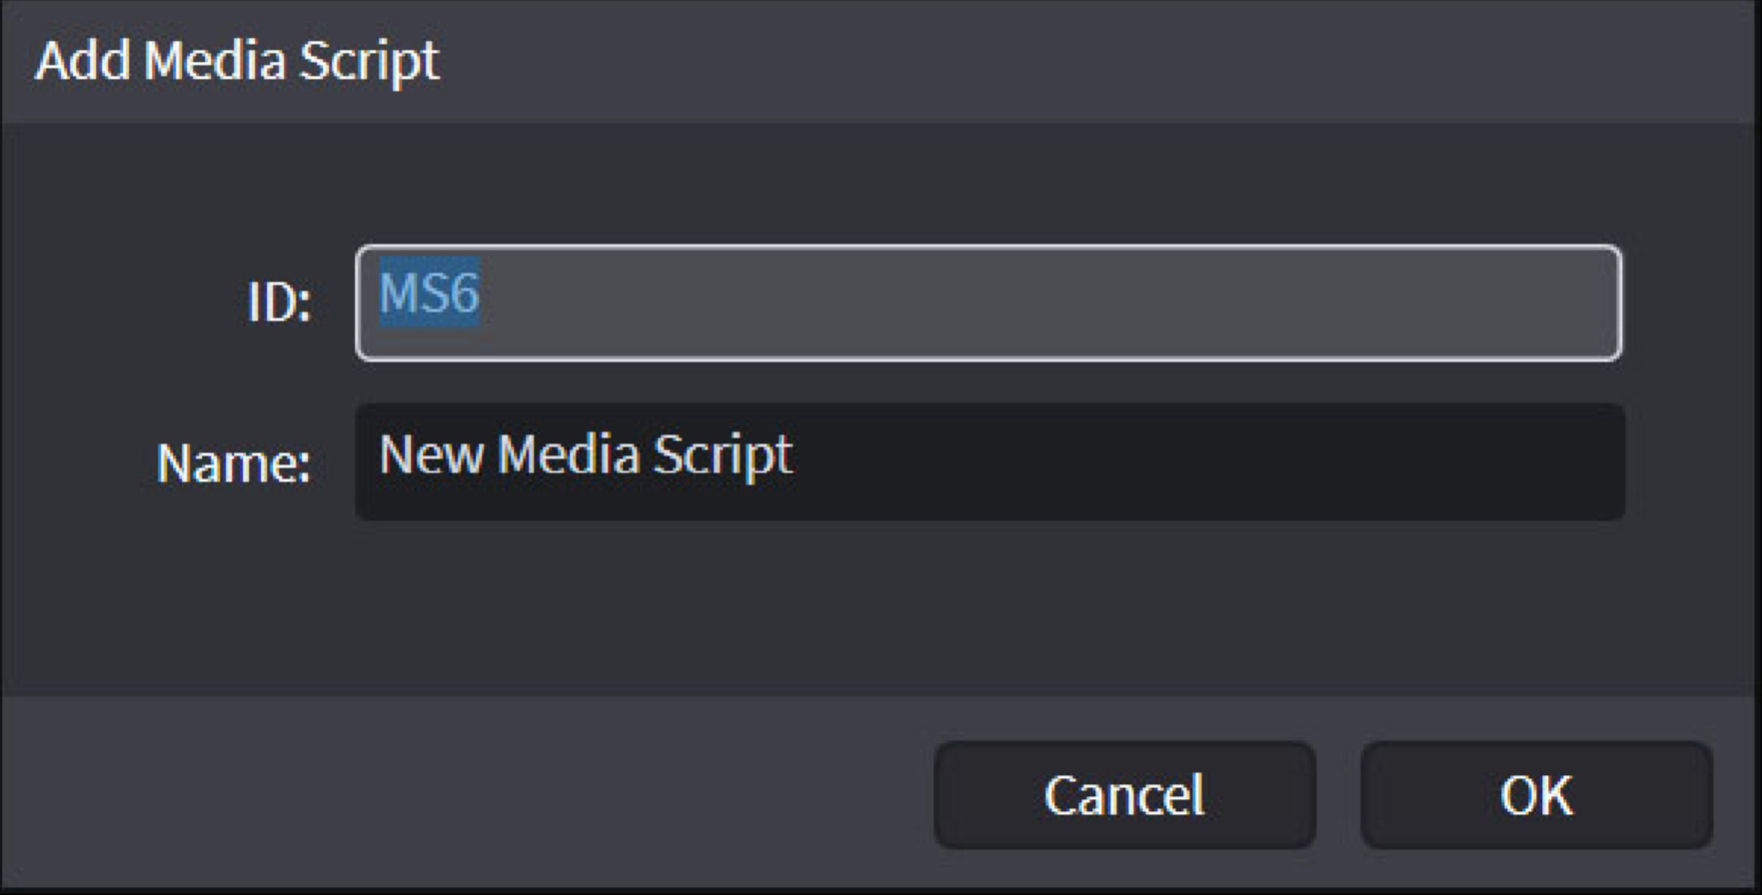
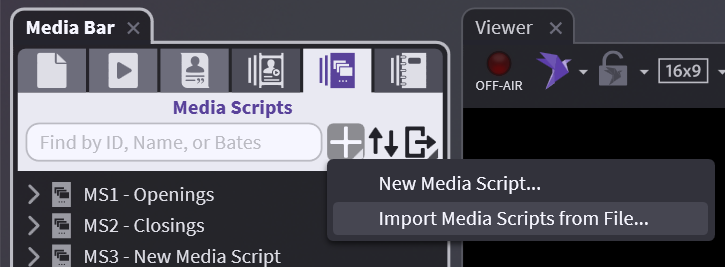
To start a new Media Script, first hover over the " + " sign in the Media Scripts tab of the Media Bar and click New Media Script.
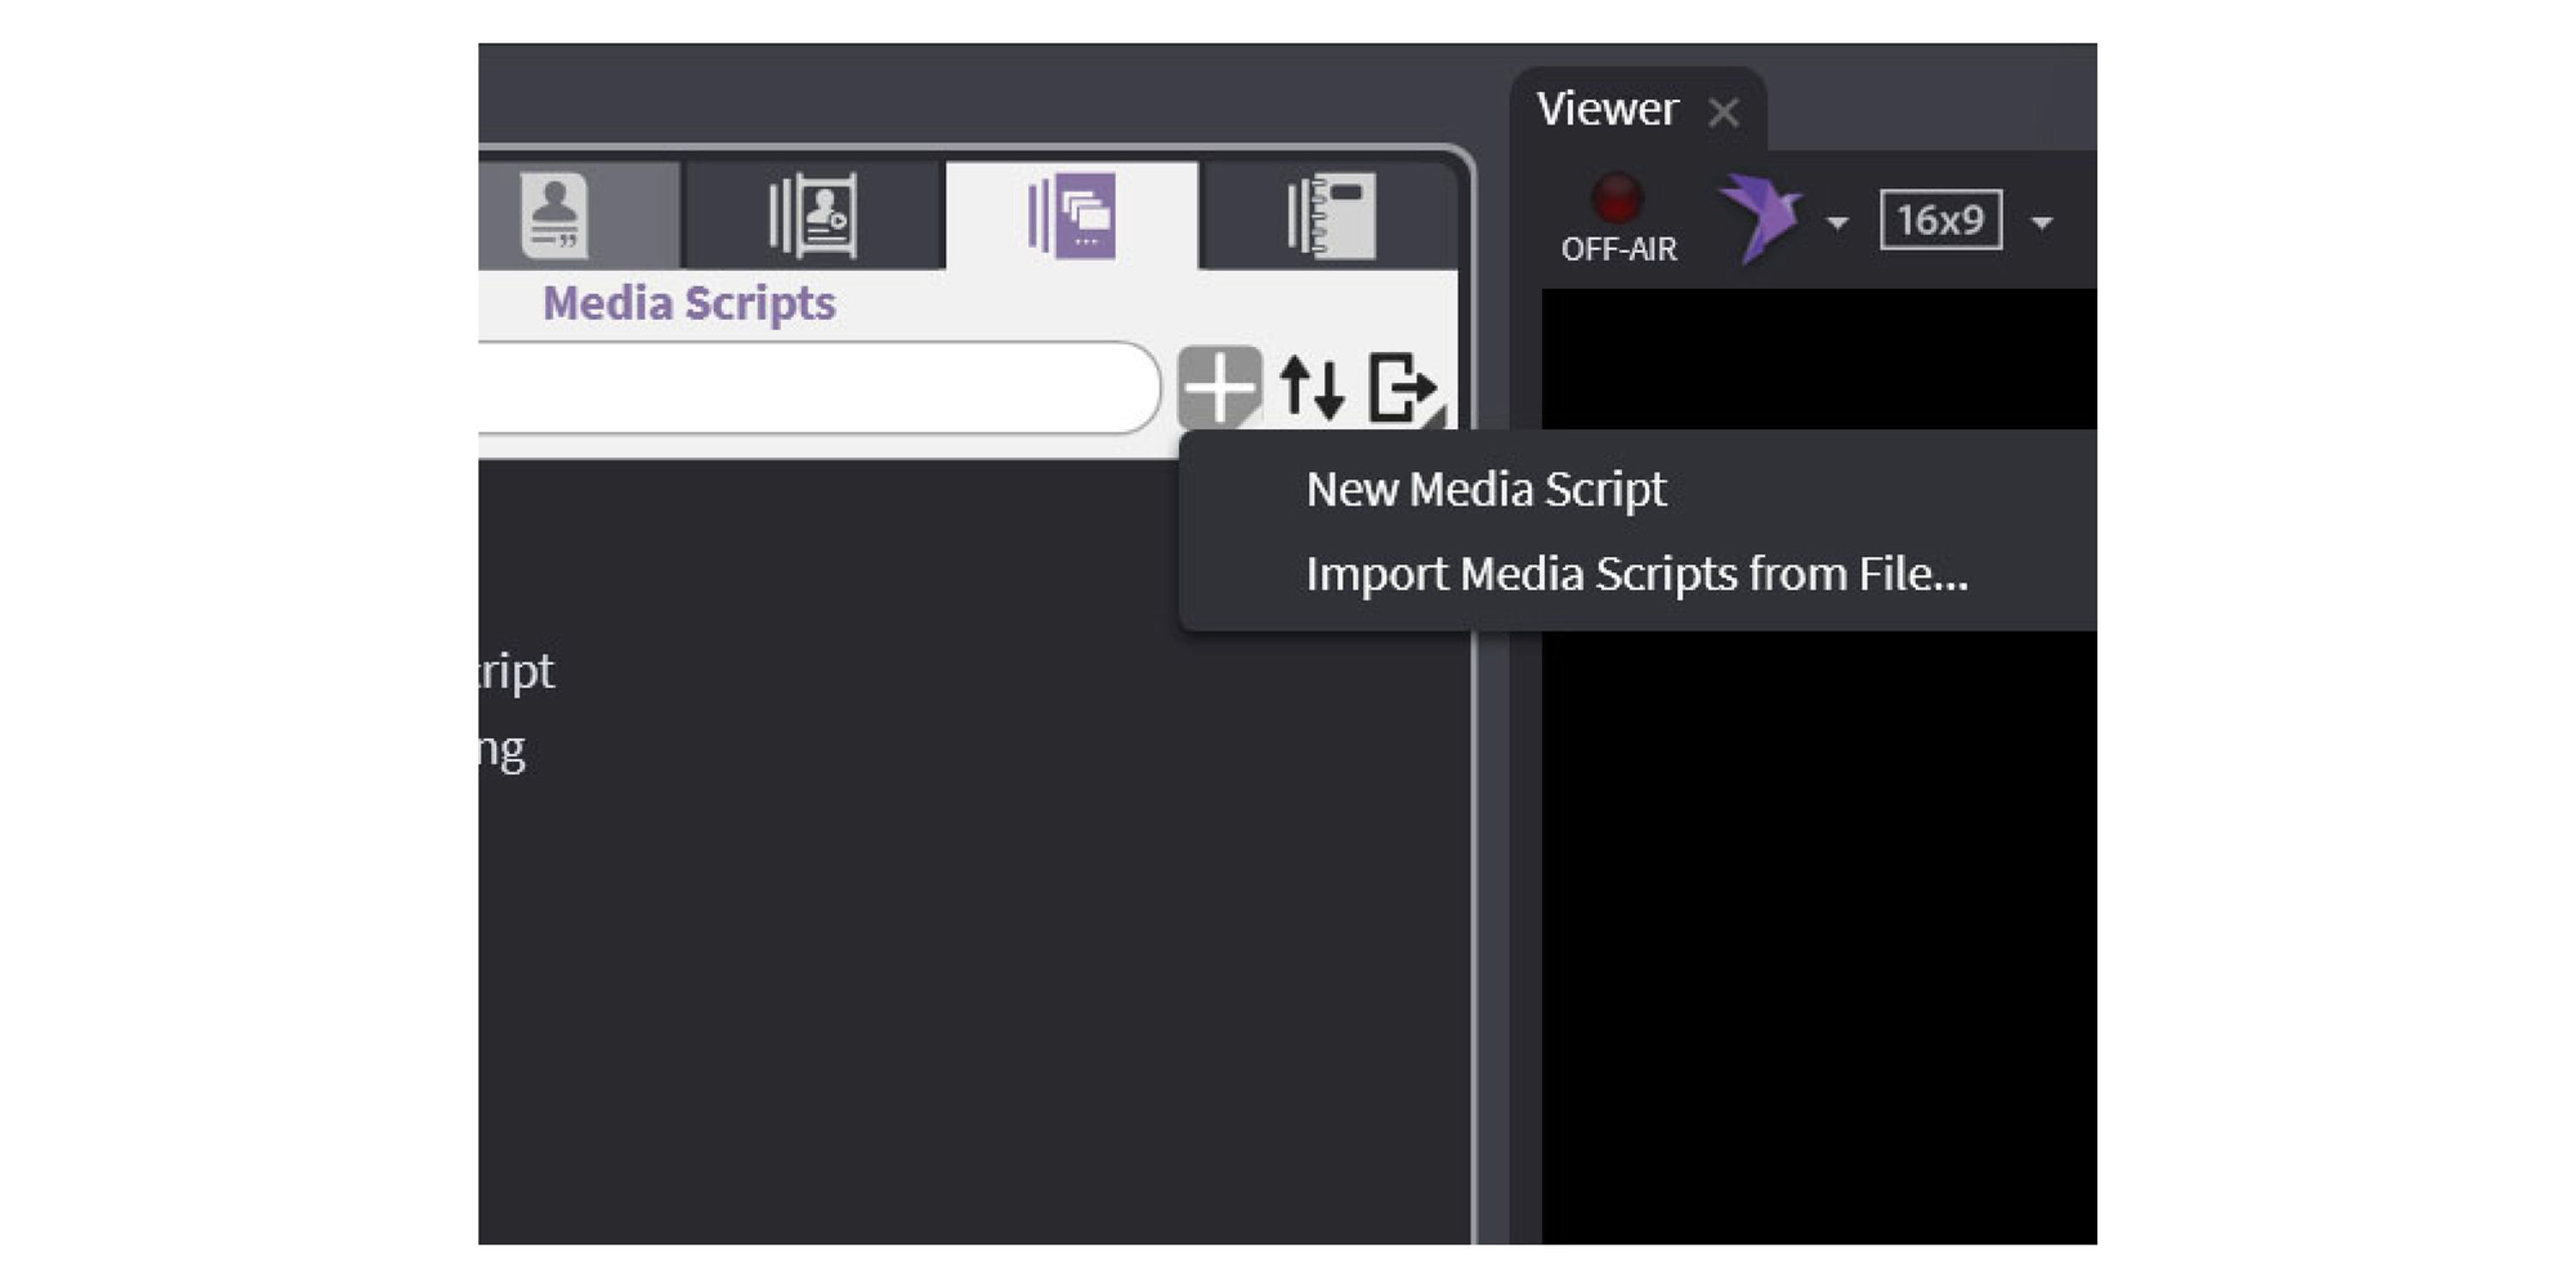
This will open a window for you to type in an ID and a Name.
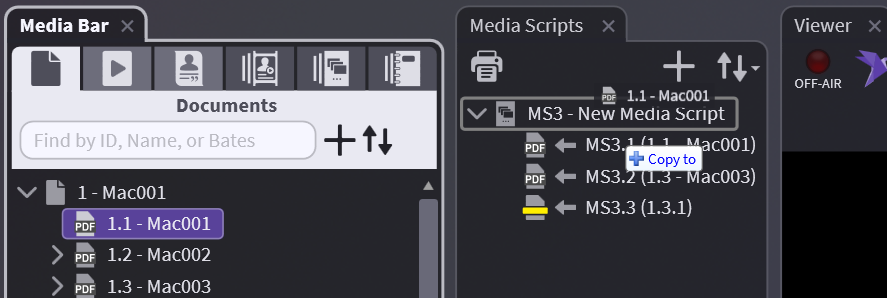
It is easy to add items to a Media Script. You can copy and paste or drag and drop any media into your Media Script within OnCue.
Double-click on your Media Script to open a new pane or hit the Sidebar button. This opens a new pane next to the media bar.
Within the Media Bar you can now select any page, designation, or clip and drag it to the Media Script in the Sidebar.
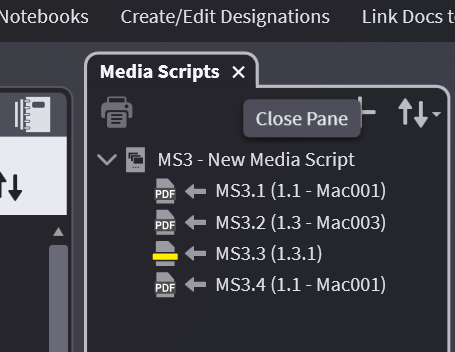
When you are finished simply close the pane.
If you know the IDs, you can also add them by right-clicking and adding your IDs in the Media ID field.
If you have a media script from another case with the same IDs, you can import a text file or XML file.
Tips for Using Media Scripts
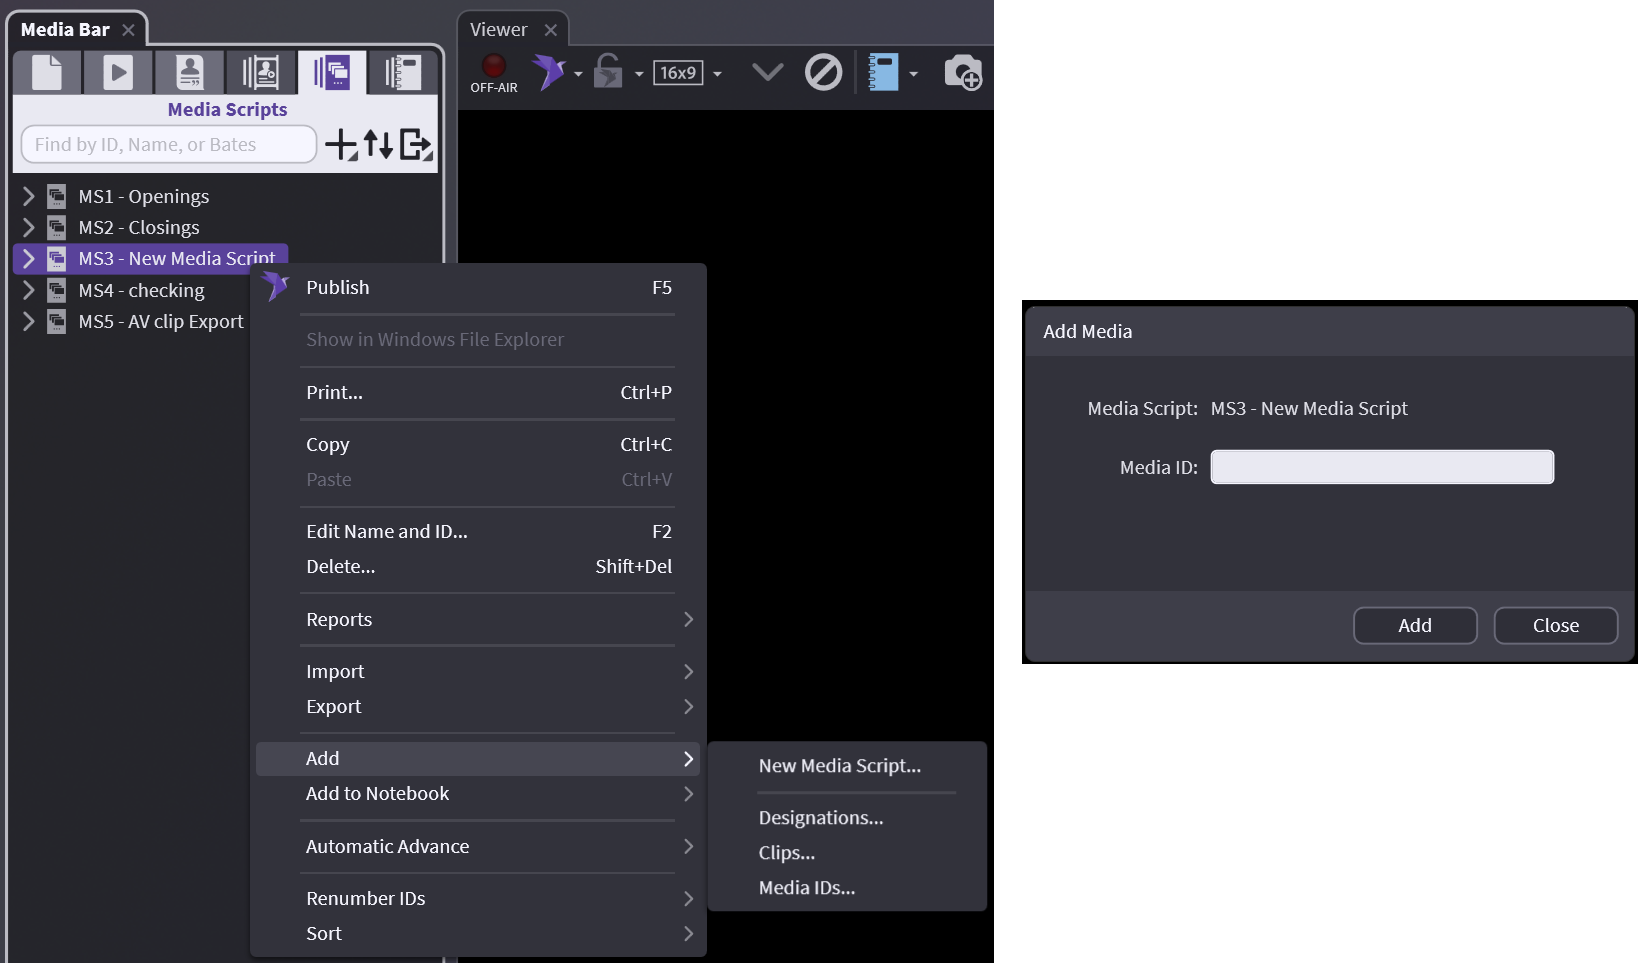
You can create new clips of an Audiovisual in a Media Script without having to create them in the Audiovisuals tab first.
Right-click on your list and select Add -> Clips

This will create a new non-synced video clip under your main file in the Audiovisuals tab.
You can create new Designations in Media Script without them having to be part of a Designation List.
Right-click and select Add -> Designations
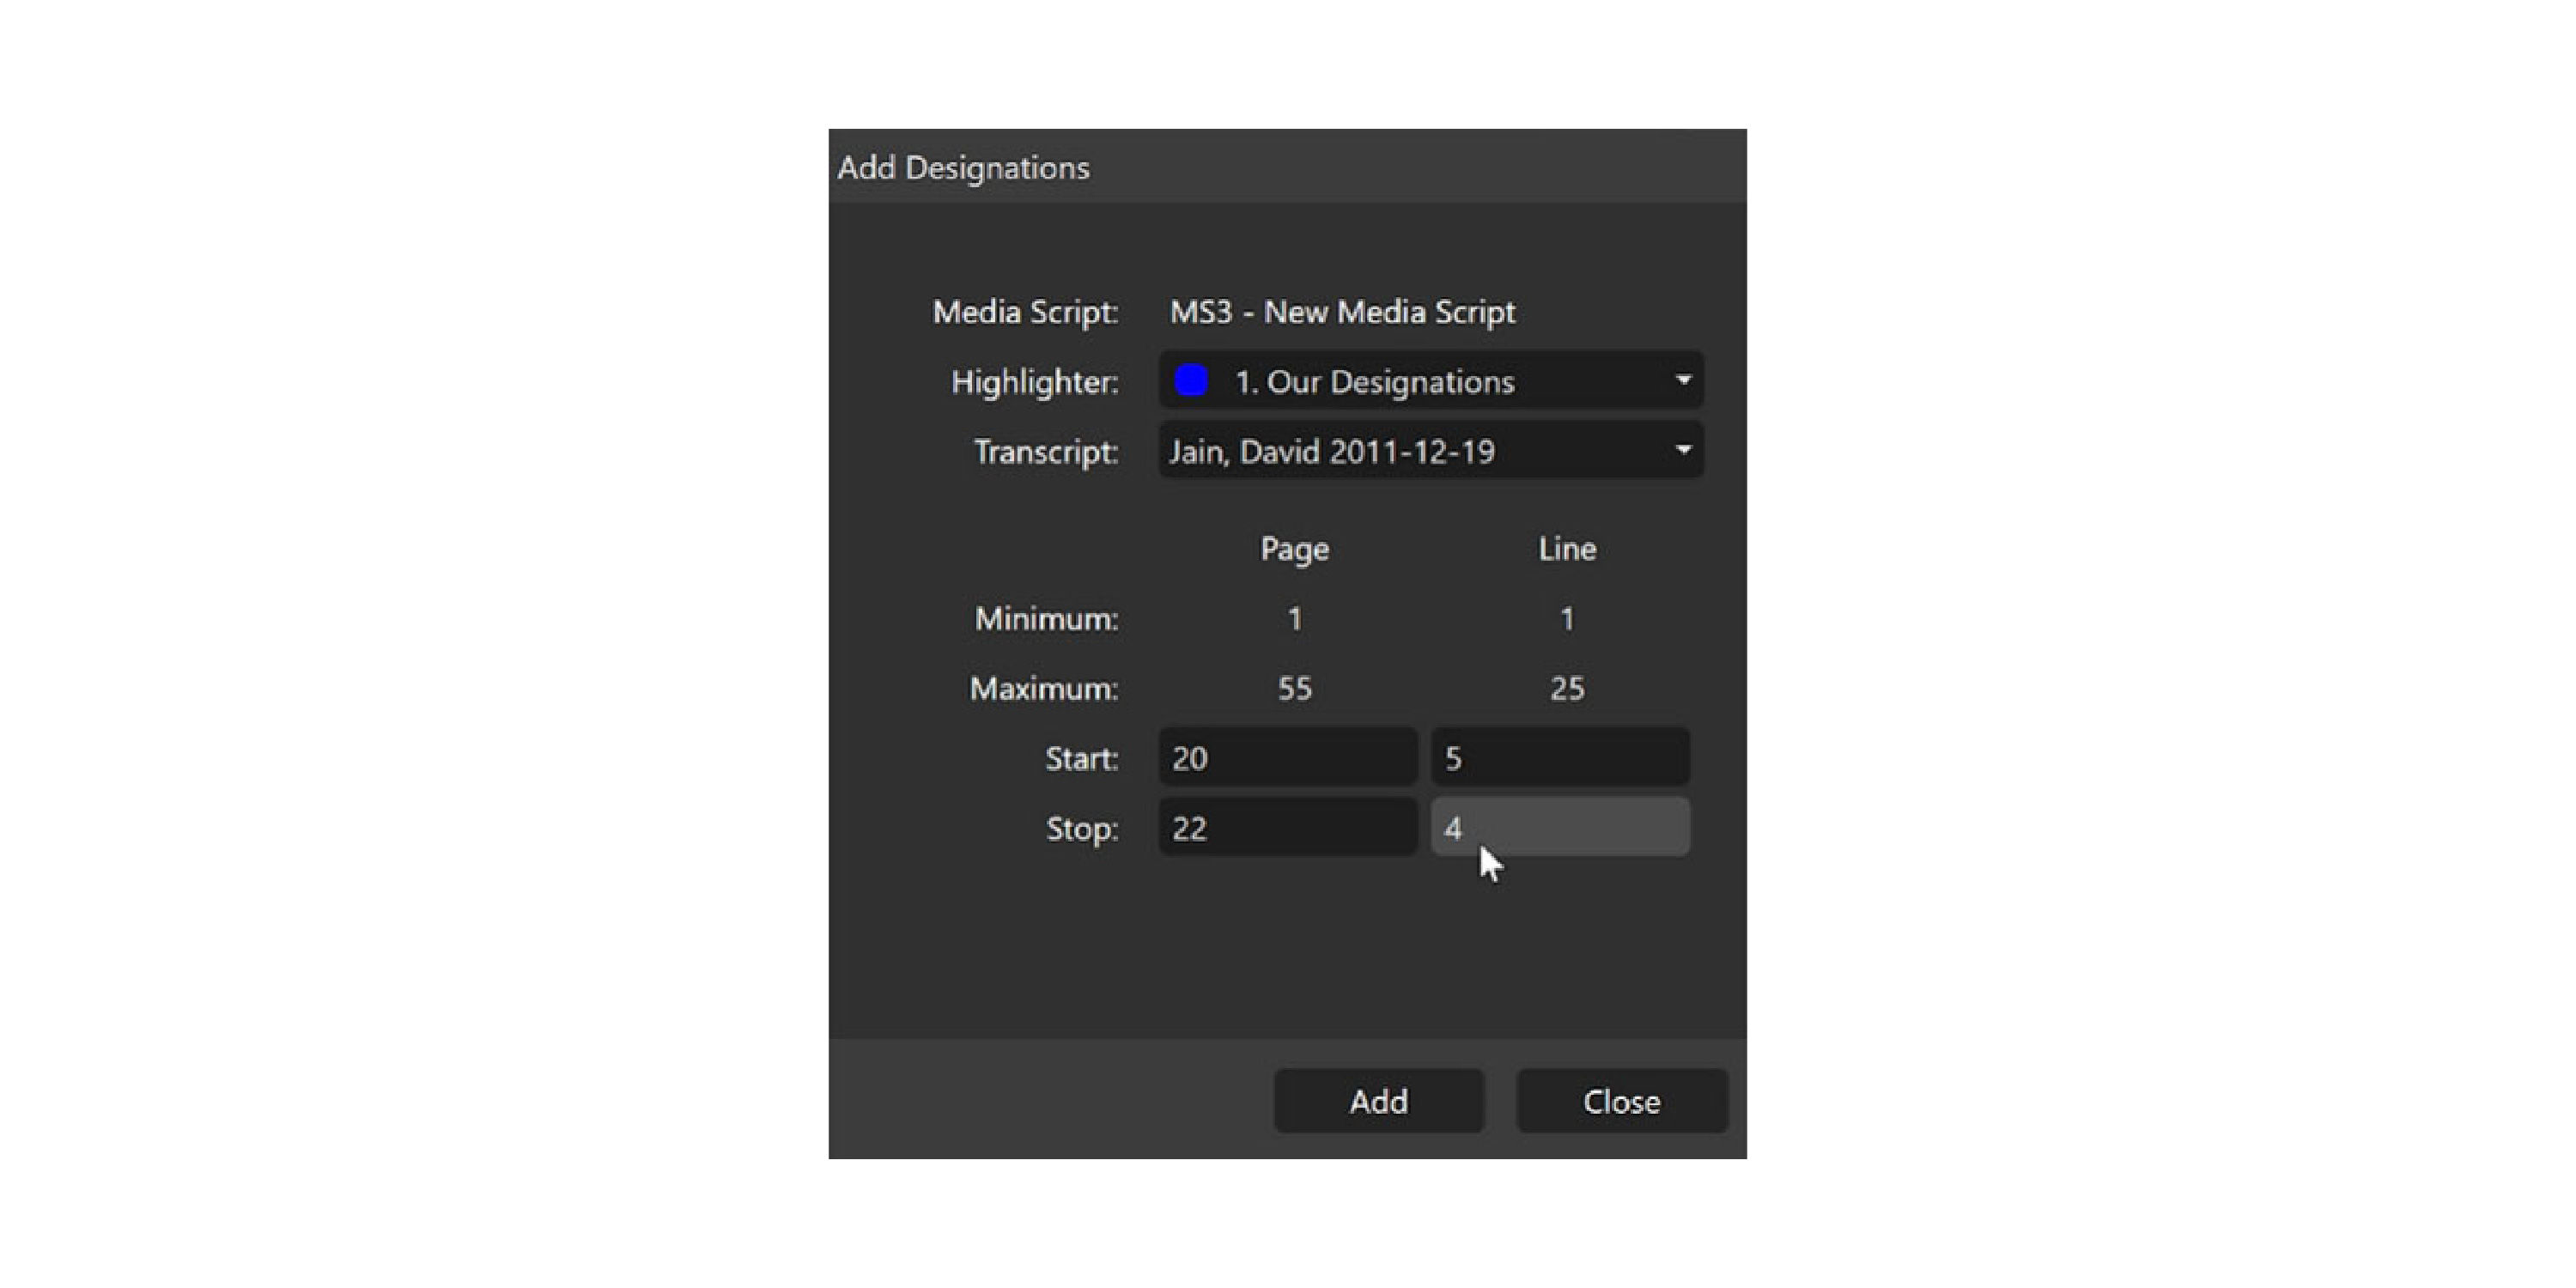
You can open the designation editor to fine tune the designation you added, just hit F7.
Auto-Advance Your Script
When you first create a Media Script, it does not automatically advance like a designation list does. You need to set it up if you want it to auto advance.
Right-click on your Media Script and select Automatic Advance. The default is 8 seconds.
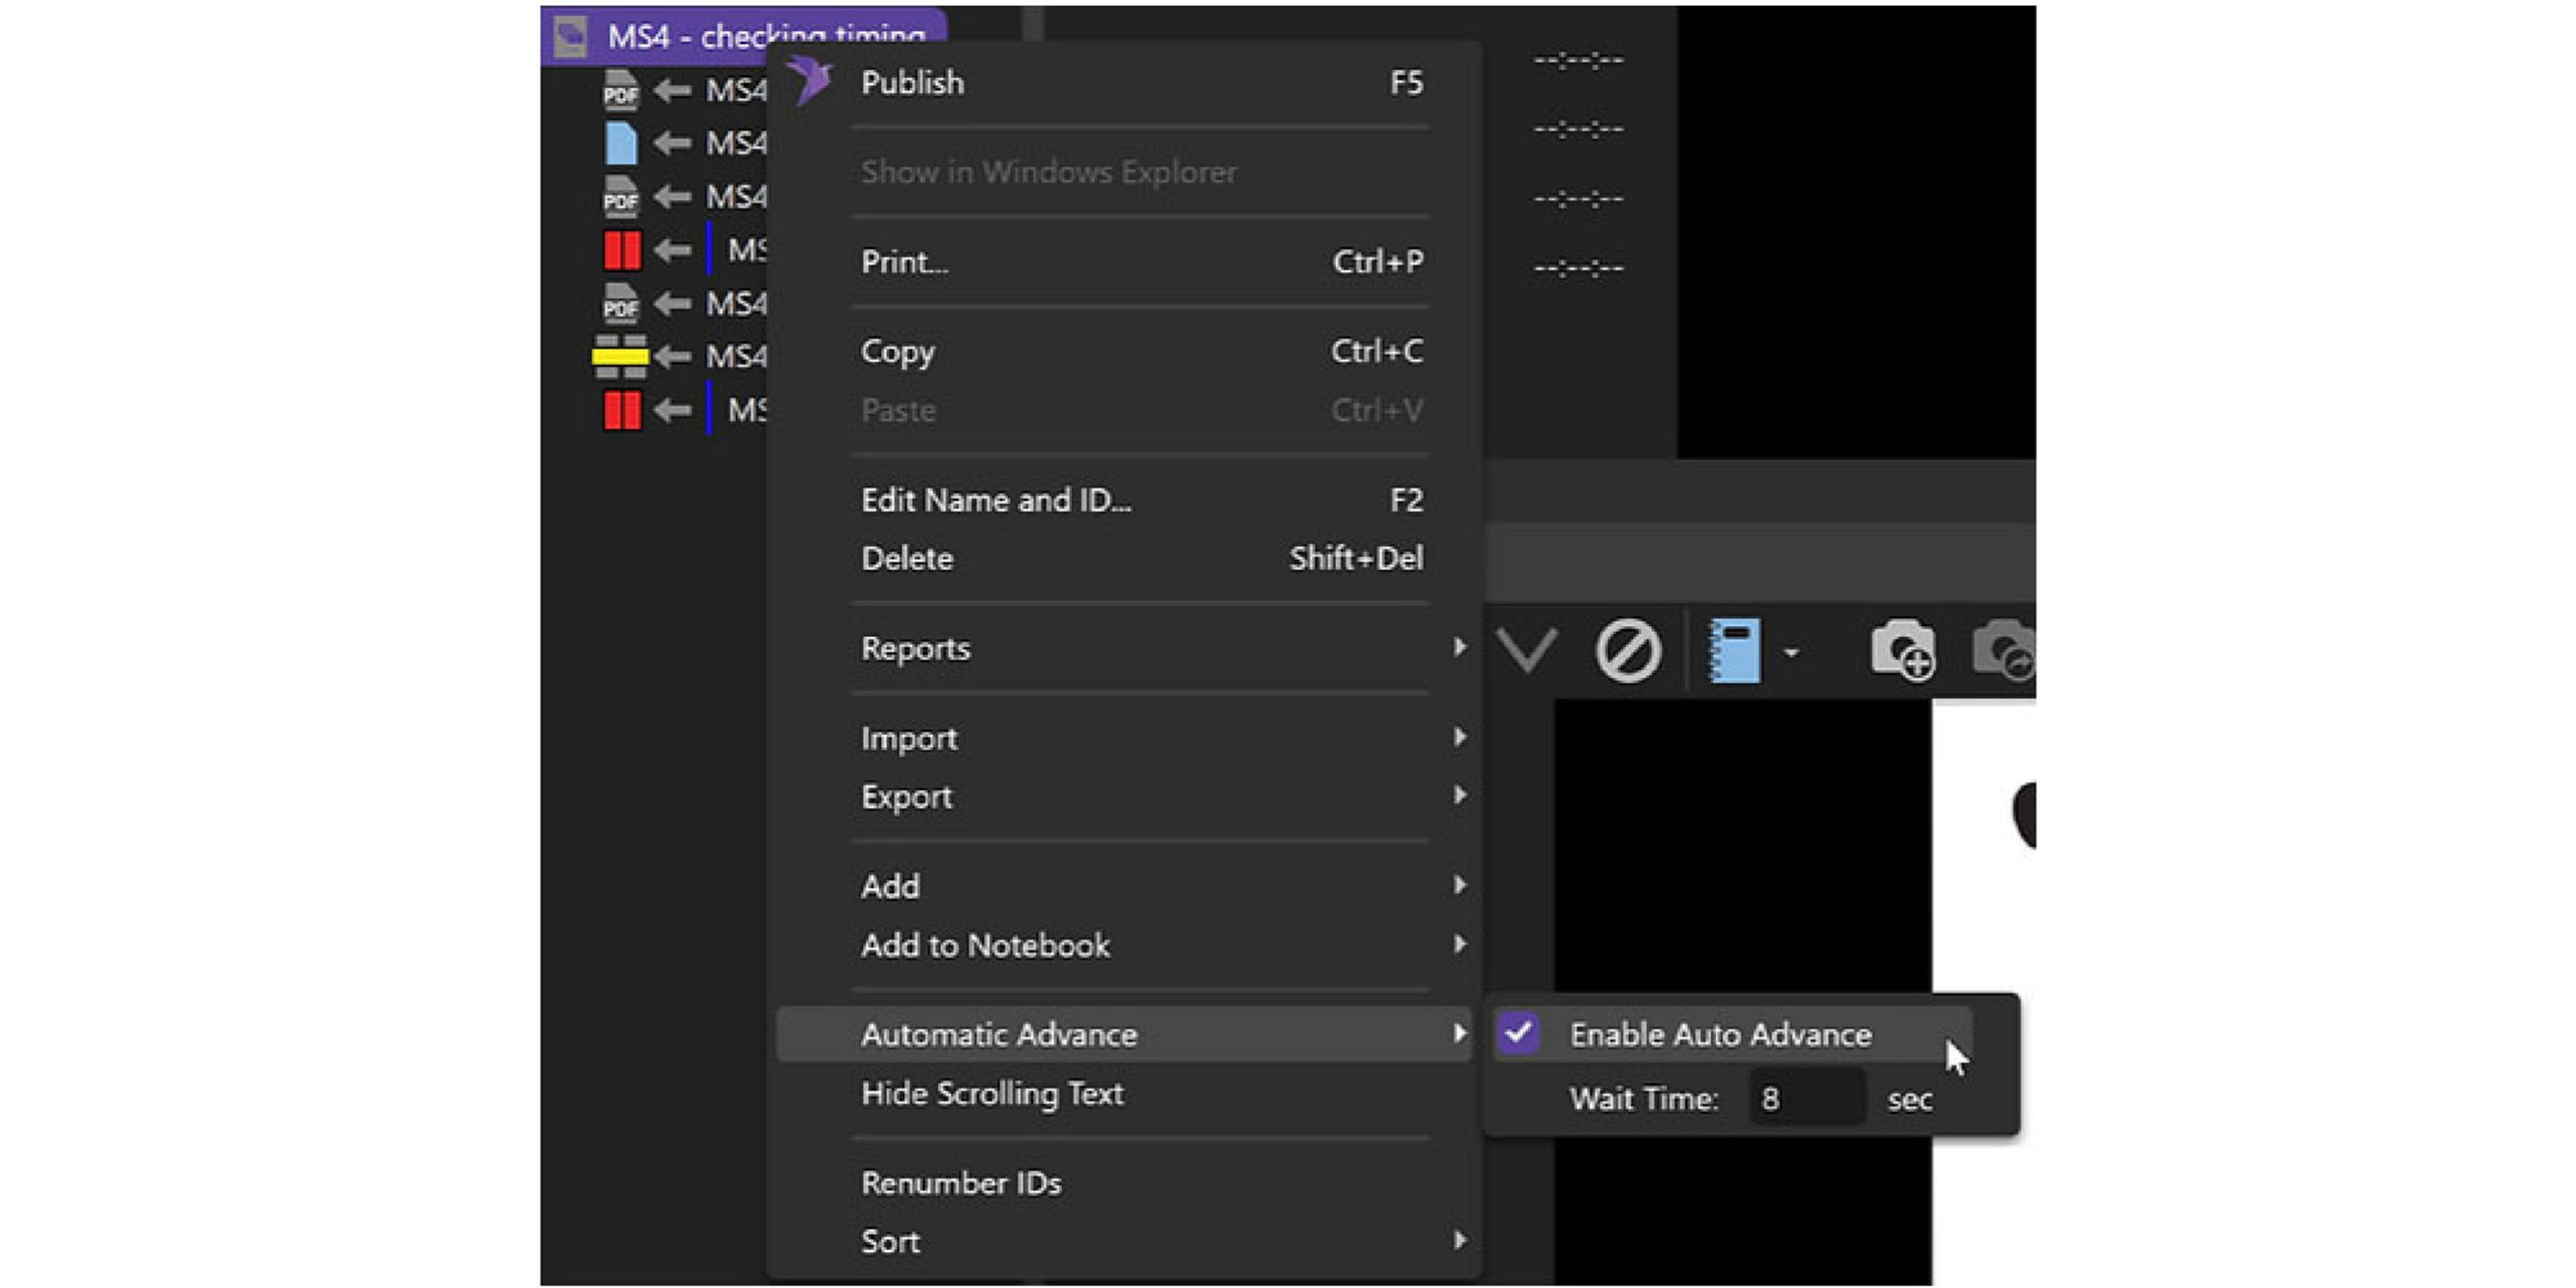
If you have clips or designations in your Media Script they will advance after they finish playing. If you have slides in your Media Script, it will show them quickly and then move on. To give people time to see slides you need to set the wait time. Enter a number and hit enter. Don't forget to make sure you have that checkmark next to enable Auto-Advance.
All your arrows in your Media Script should be pointing down if your Auto-Advance is on. To turn it off for just one or two slides, clips or designations, just double click on the arrow to turn it the Auto-Advance for that individual one.
Right-Click Menus
Main Script:
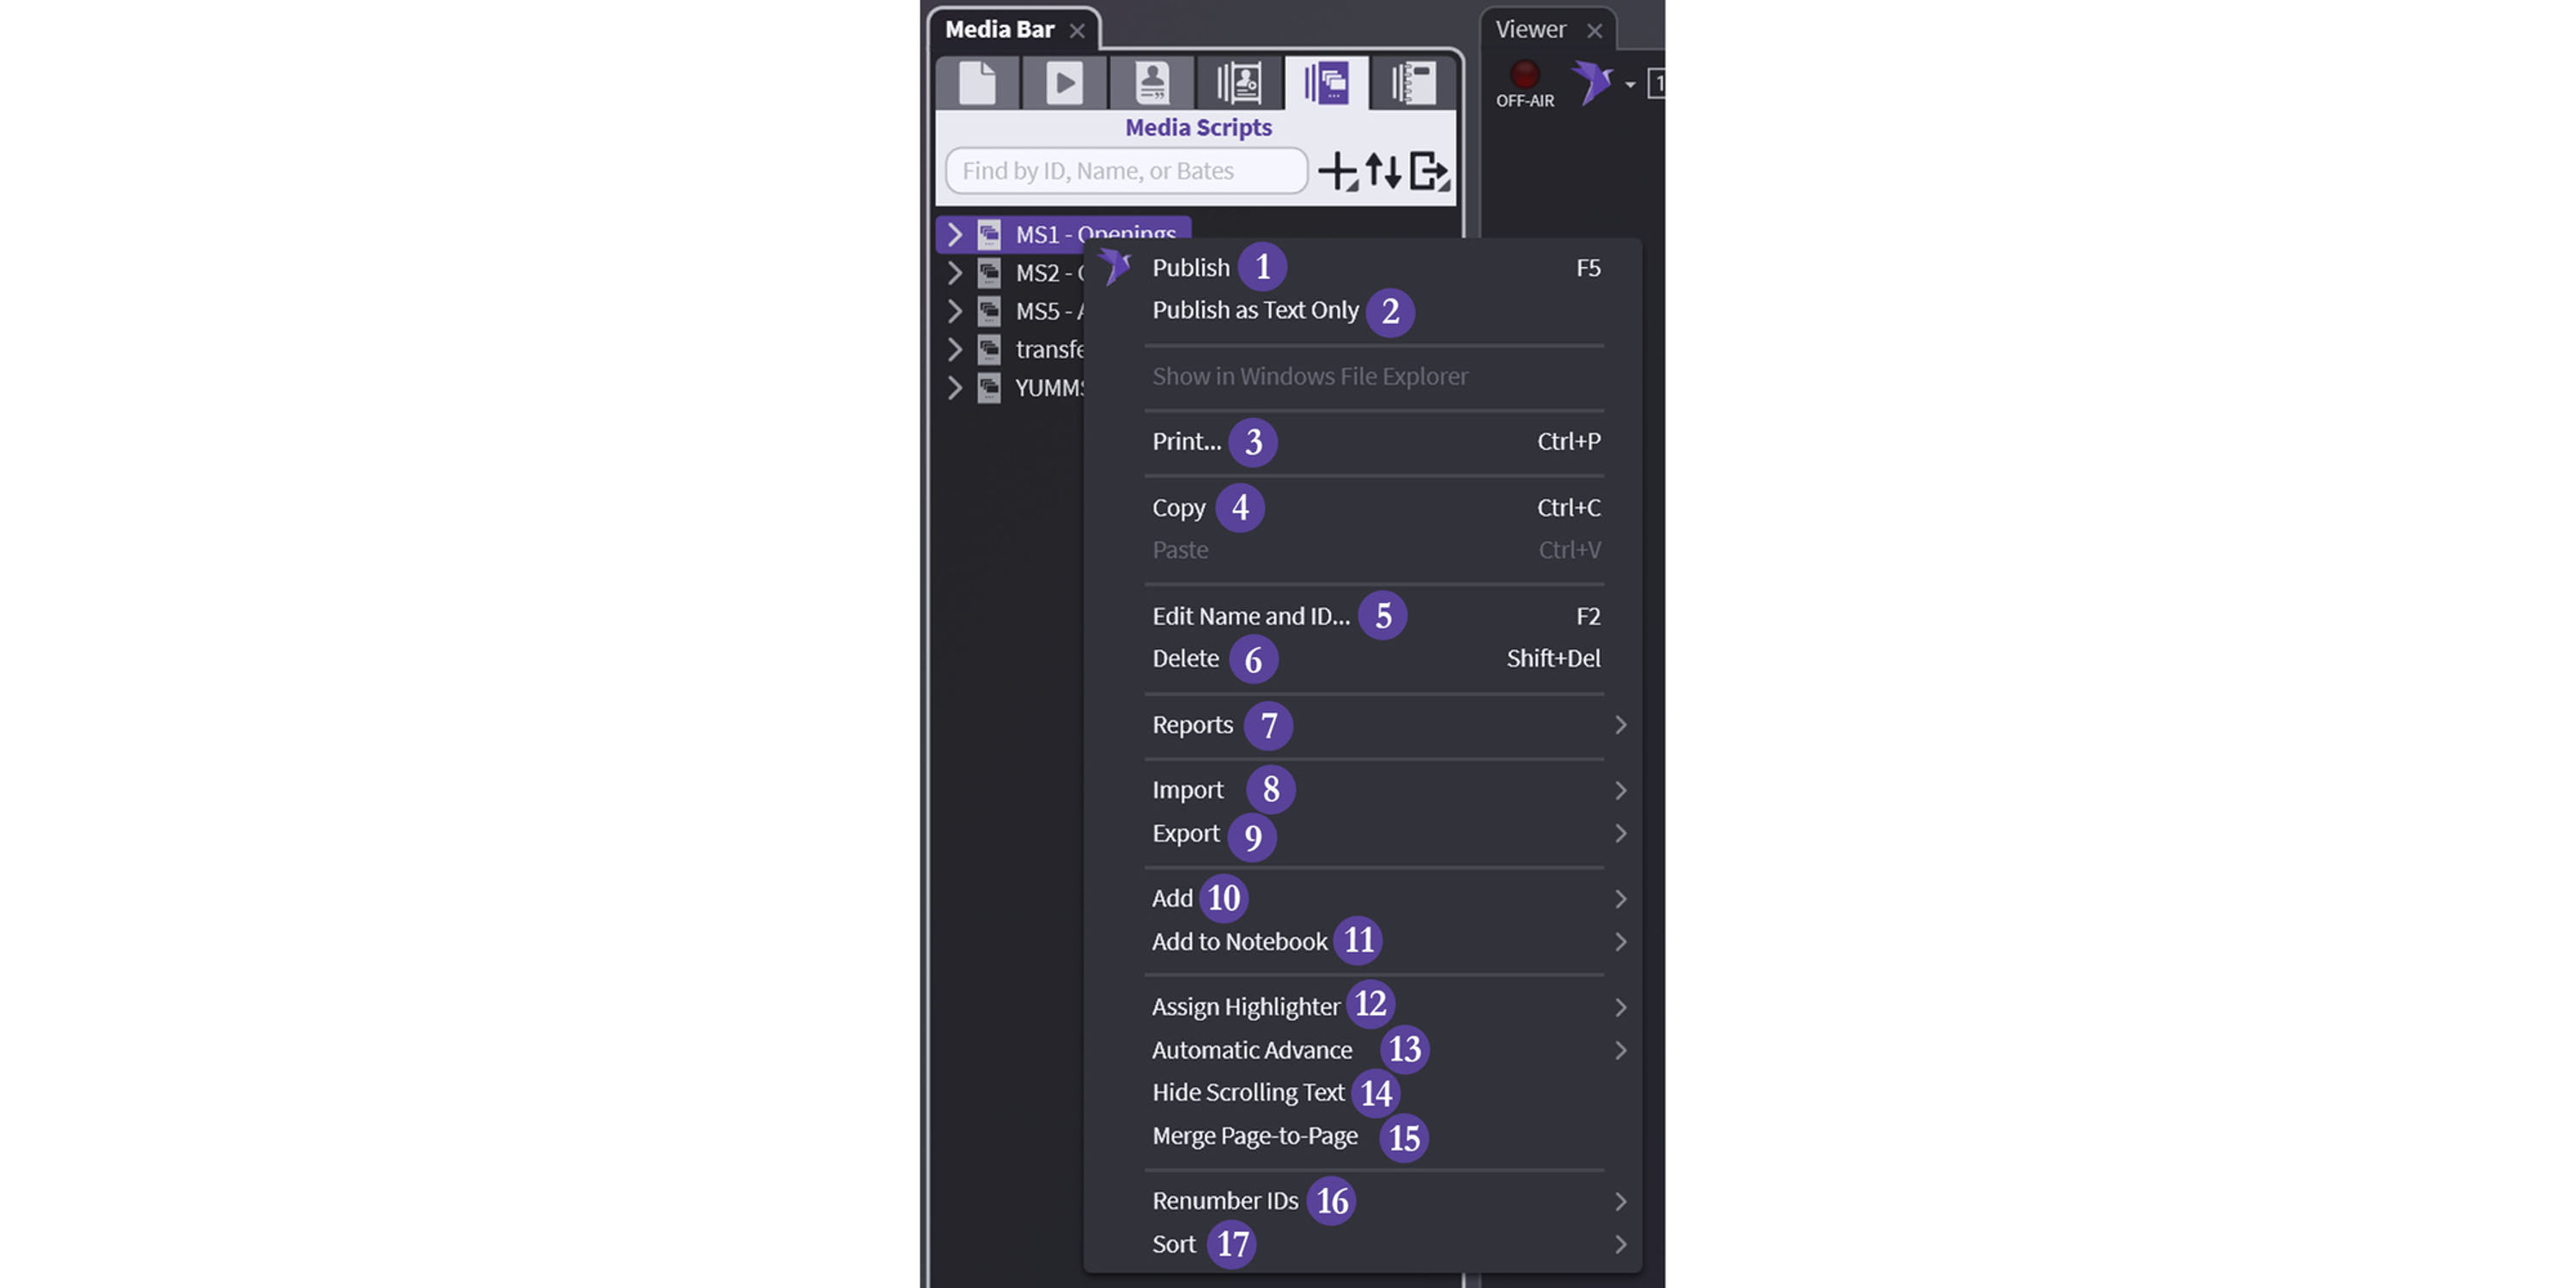
1
Publish
Exactly as described – presents the Media Script
2
Publish as Text Only
Designations that play as a part of the Media Script will show text only
3
Exactly as described – see Printing for options (designations will print ID, not text)
4
Copy
Copy your entire Media Script and paste into a Notebook or another Media Script
5
Edit Name and ID
As described – change the name and ID in OnCue
6
Delete
Careful – no undo
7
Reports
As described – See Deposition Designation Reports
8
Import
All options for imports available
9
Export
See Exporting Media Scripts
10
Add
Add to existing by typing or create new
11
Add to Notebook
Add to existing (list provided) or create new
12
Assign Highlighter
Change highlighter colors for designations included in the Media Script
13
Automatic Advance
Change the way your script plays – auto (set time) or launch each clip one at time
14
Hide Scrolling Text
As described designations – Presentation Mode
15
Merge Page-to-Page
Any designations included in the Media Script will be merged page-to-page. See Editing Designations - Page Line Edits
16
Renumber IDs
Move elements around or delete – Keep your IDs consecutive using this
17
Sort
Many options – See Sorting Designation Lists
Element/Segment Level:

1
Publish
Start playing in presentation from selected element – will continue to intended stop
2
Exactly as described – see Printing for options
3
Copy
Copy the selected elements and paste – into a Notebook or Media Script
4
Delete
Careful – no undo. Deletes clips or designations specifically created in the script
5
Import
All options for imports available
6
Export
2 options – exhibit list and images
7
Insert Before
Insert element before existing selected
8
Insert After
Insert element after existing selected
9
Add to Notebook
Add to existing (list provided) or create new
10
Assign Highlighter
Change highlighter colors for selected designation(s)
11
Automatic Advance
Change the way your selected element plays – auto (set time)
12
Hide Scrolling Text
Only shows scrolling text for selected designation(s)
13
Merge Page-to-Page
Selected designation(s) will be merged page-to-page. See Editing Designations - Page Line Edits
14
Renumber IDs
Renumbers IDs of media in the Media Script (does not change source IDs)
15
Sort
Many options – See Sorting Designation Lists