Creating, Opening, & Moving Your Case
OnCue allows you to organize all your trial exhibits, synchronized transcripts, demonstratives, and videos in a single, easily organized structure called a Case. Creating a Case is the first step in preparing for trial presentation.
Creating a Case
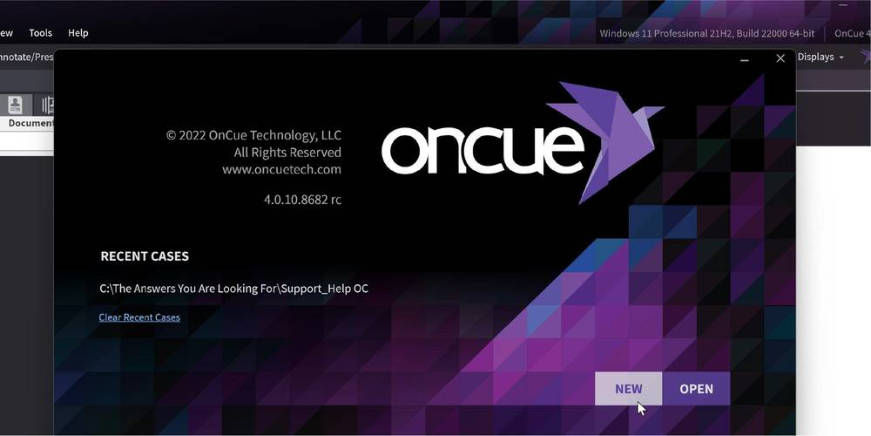
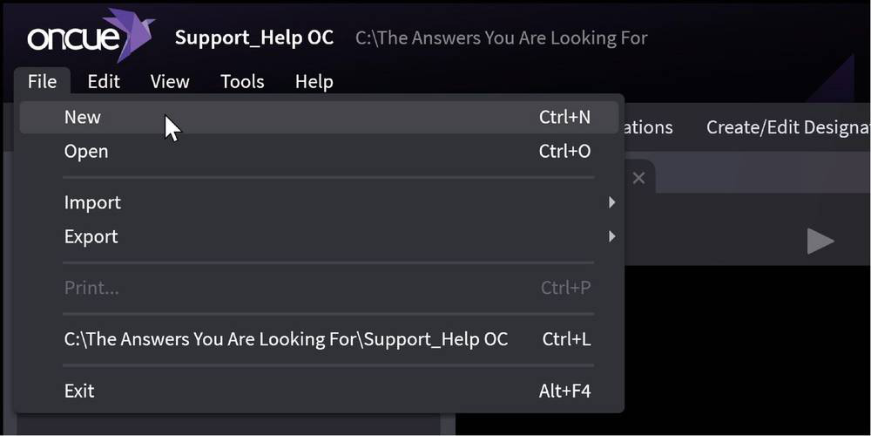
There are two ways to create a Case in OnCue – either by selecting “New” when OnCue is first launched; or by opening the File menu and selecting “New.”
From launching OnCue:
From within OnCue:
Either option launches a window that allows you to determine where the main case folder will be located and what to name it.
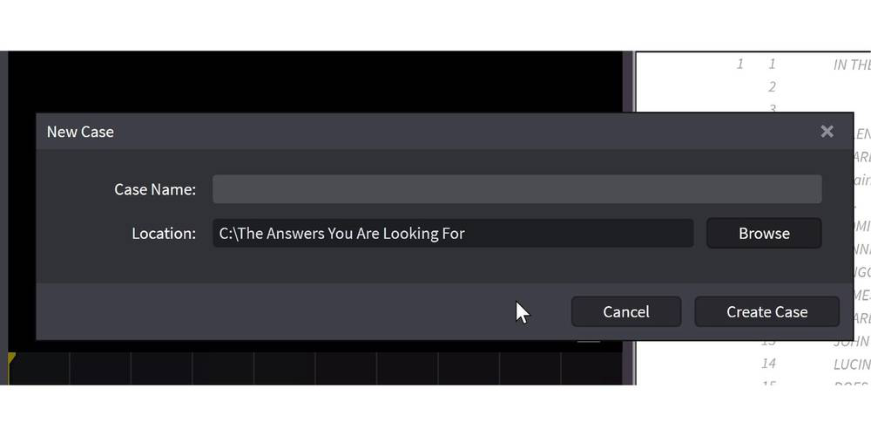
The main case folder is where all the case data is stored (how this can be changed will be covered in another article). This includes documents, synchronized transcripts, and video files.
Since the size of these materials can be quite large, some thought should be given as to where you locate the folder. By default, OnCue will create new case folders on the desktop until you change the drive or folder and then it will default to that folder when you create a new case. If your drive has limited space you may want to browse to a different drive (e.g., an external USB or Network drive).
Opening a Case
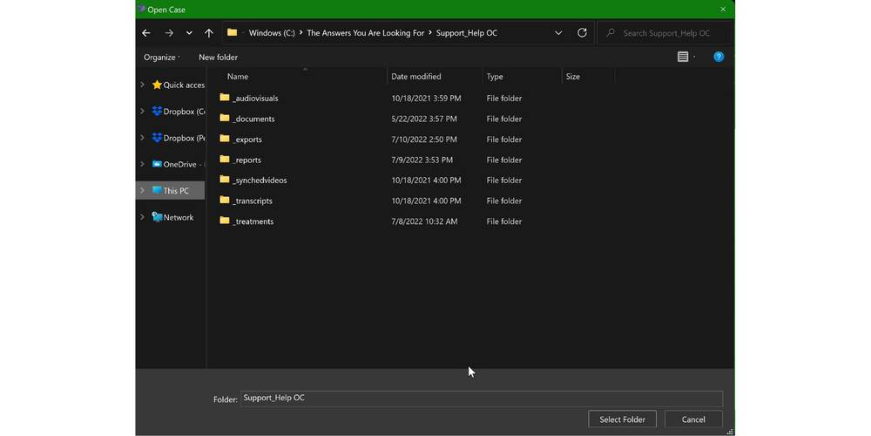
Once the case has been created, it can be opened either at the launch screen or File -> Open from the menu in the program to bring up a file browser.
Select the root case folder, not a file, then click OK.
Transferring and Backing Up a Case
To transfer a case or to copy it to another location, you need to find the root folder of the case that OnCue created. If you don’t remember where the case folder exists, simply look in the top left corner of OnCue and it will tell you as shown below. TIP: if you go to the top and hold CTRL and click on the case folder path - it will open up in Windows Explorer. Just move one folder up and you have the entire case folder.
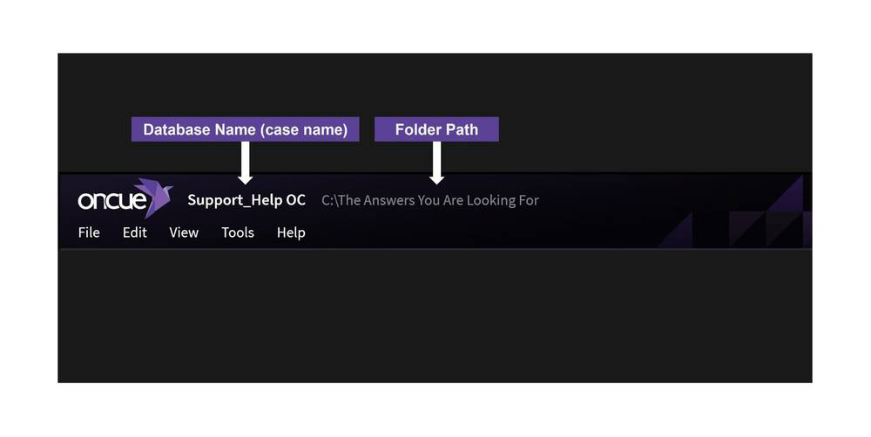
OnCue will save the case on your Desktop by default unless you ask it to be saved somewhere else. Once you find the case folder, right-click and copy it. Then paste the folder to the backup location you wish for it to reside. If you are moving the case for backup purposes, it is best to regularly compare and update your backup case to reflect changes you have made with the version you are actively working with.
We find the best way to do this is by using a program called Beyond Compare. This allows us to compare the differences between case folders and only copy over the changes between them. This makes the process much faster if your case has large video files that do not need to be copied over repeatedly.